
How to Create a Breakfast Charcuterie Board

This post is sponsored by Cricut. All ideas and opinions are my own.
Who doesn’t love an amazing breakfast spread?! If you’re hosting brunch—or welcoming family staying in town for the holidays—a beautifully styled breakfast charcuterie board is a guaranteed crowd-pleaser. It’s an easy, eye-catching way to feed a group, and with just a few personalized touches, your setup will feel extra special. Below, I’m sharing ideas for what to include, how to style your board, and simple ways to customize it.
What Breakfast Items Should I Include?
When it comes to building a breakfast charcuterie board, the options are endless. My favorite approach (especially when hosting holiday guests!) is to choose items that can be prepped ahead of time so the morning feels effortless.
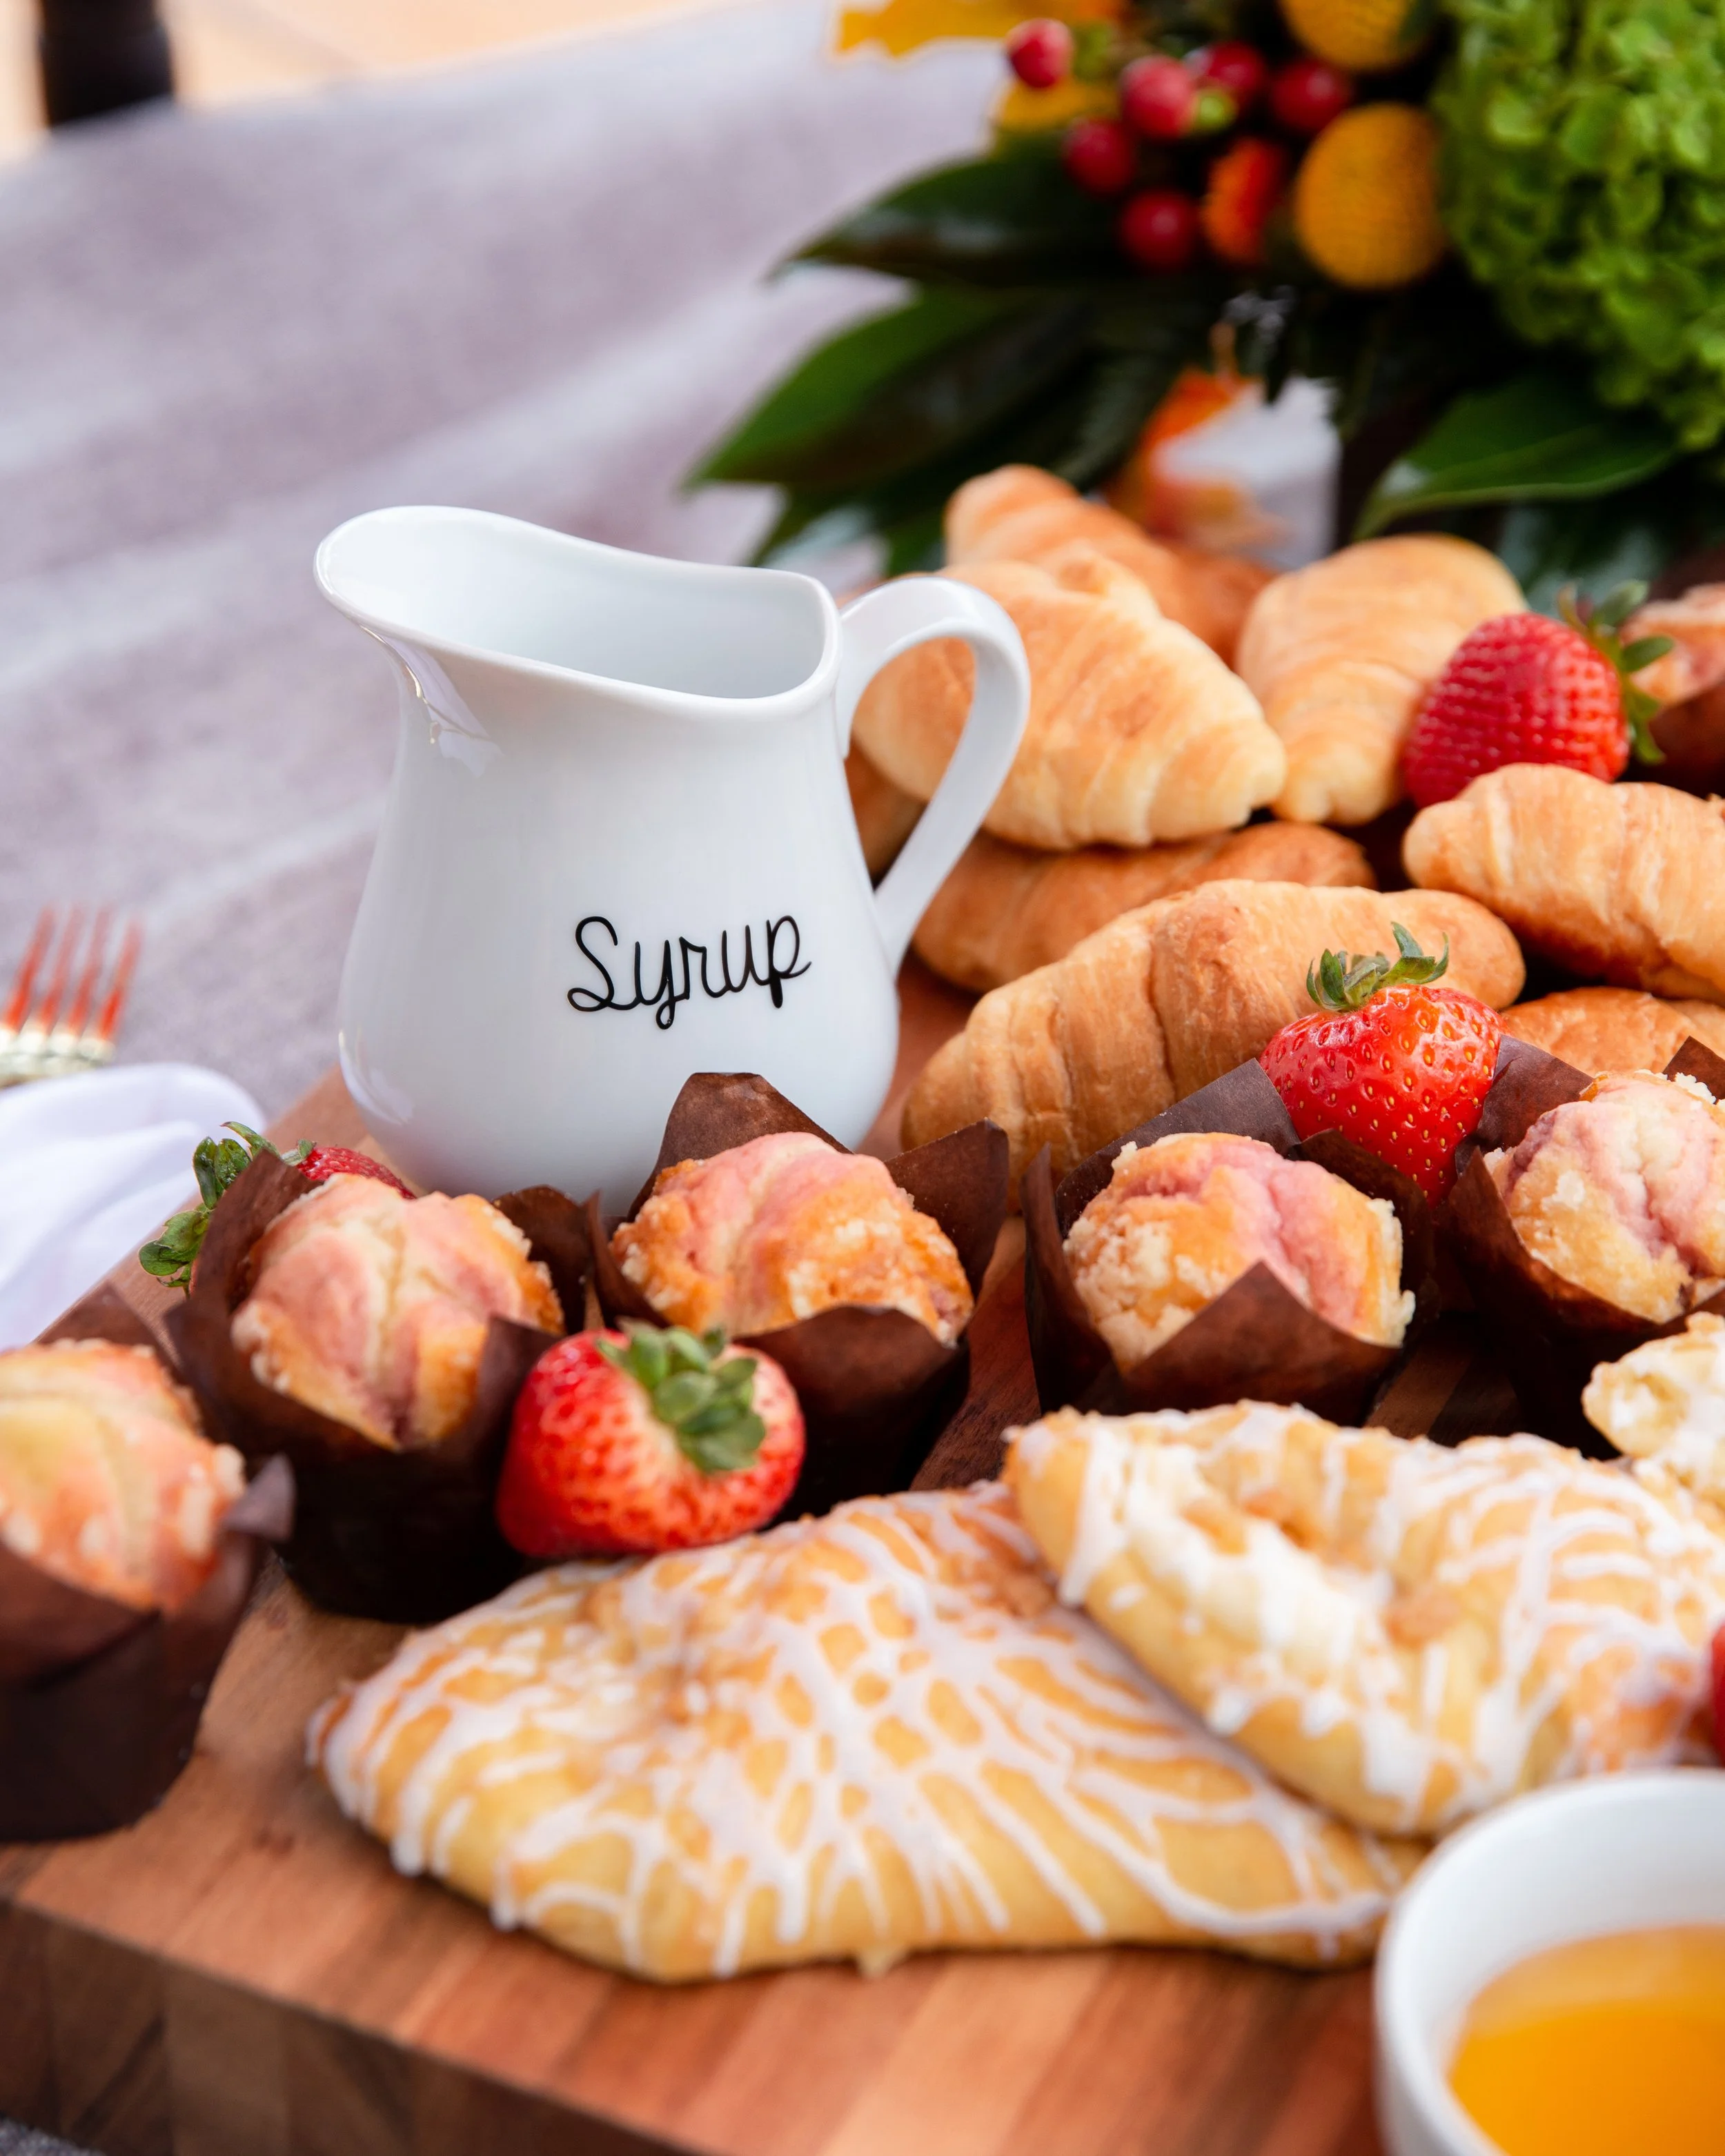
For this board, I focused on a mix of baked goods and fresh fruit.
Consider adding:
Croissants
Donut holes
Donuts
Mini bagels
Pastries
Muffins
Scones
Biscuits
Fresh berries (strawberries, blackberries, blueberries, raspberries)
Orange or grapefruit slices
Jams
Honey
Syrup
This variety gives everyone something they love—and keeps things fun and casual for leisurely, holiday-weekend breakfasts.
How Should I Display My Breakfast Items?
Start with a large cutting board or serving board as your base. I love using a wooden cutting board because it instantly creates warmth and texture. To personalize mine, I used black Smart Vinyl and my Cricut Joy to add the word “Welcome” to the bottom corner. It took just minutes, and I love how Smart Vinyl feeds directly into the machine—no mat required!
Once your personalized board is ready, begin arranging your items. Create small groupings and loose, curved lines to make the layout feel abundant. Scatter fresh fruit throughout to fill in empty spaces and add color.
Don’t forget the condiments! Jams, honey, butter, and syrups deserve their own little bowls—and labeling them makes everything easier for guests.
Adding Personalized Condiment Labels
To keep things simple and stylish, I added script vinyl labels to plain white ceramic bowls using my Cricut Joy. After choosing a font, I cut out the labels, then used Transfer Tape, a scraper, and a weeder to apply them cleanly and precisely.
Apply transfer tape to your cut vinyl
Use the scraper to press firmly
Peel the tape back, carrying the vinyl with it
Apply to your dish
Use the weeder to remove any tiny pieces if needed
It’s a quick detail that makes your whole board feel thoughtful and intentional—especially when hosting family for the holidays.
Ready to Build Your Own?
I hope this breakfast charcuterie board inspires you to try something new the next time you host brunch. Whether you're feeding weekend guests or treating family visiting for the holidays, a breakfast board is a delicious, beautiful way to start the day together.
