
3 Easy DIYs for a Merry and Bright Christmas Tablescape
This post was sponsored by Testors Craft. All ideas and opinions are my own.
This holiday season, skip the traditional red and green and embrace a modern, colorful Christmas palette instead! We’re sharing photo inspiration and three easy DIY projects to help you create a Merry and Bright Christmas tablescape that’s cheerful, creative, and totally unexpected.
If you love bold hues and festive sparkle, this look featuring fuchsia, teal, and deep purple is perfect for you.
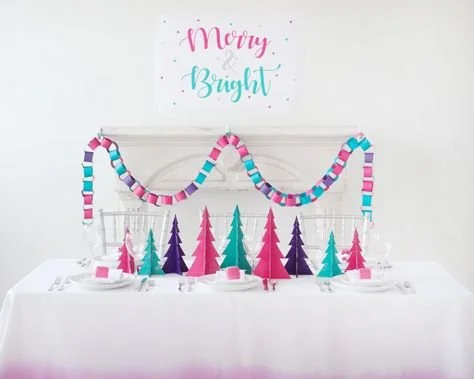
Modern colorful Christmas tablescape with fuchsia, teal, and deep purple decorations
DIY Painted Wooden Christmas Tree Centerpiece
This DIY Christmas centerpiece adds instant color and fun to your holiday table. We used wooden Christmas trees, but you can easily swap them for paper mâché cones if that’s what you have on hand.
Supplies Needed
Wooden Christmas trees or paper mâché cones
Foam paint brushes
Acrylic craft paints from Testors Craft
Testors Intense Glitter paint
Directions
Using a foam brush, coat your trees or cones with your chosen acrylic paint colors. Allow to dry fully between coats.
Apply additional layers of paint as needed for solid coverage.
Once dry, brush on Intense Glitter paint to add shimmer and depth.
Display your trees in odd numbers (5, 7, or 9) and vary their sizes for a professional, balanced look. Lay out your paint color pattern first and mark each tree before painting to ensure a cohesive design.
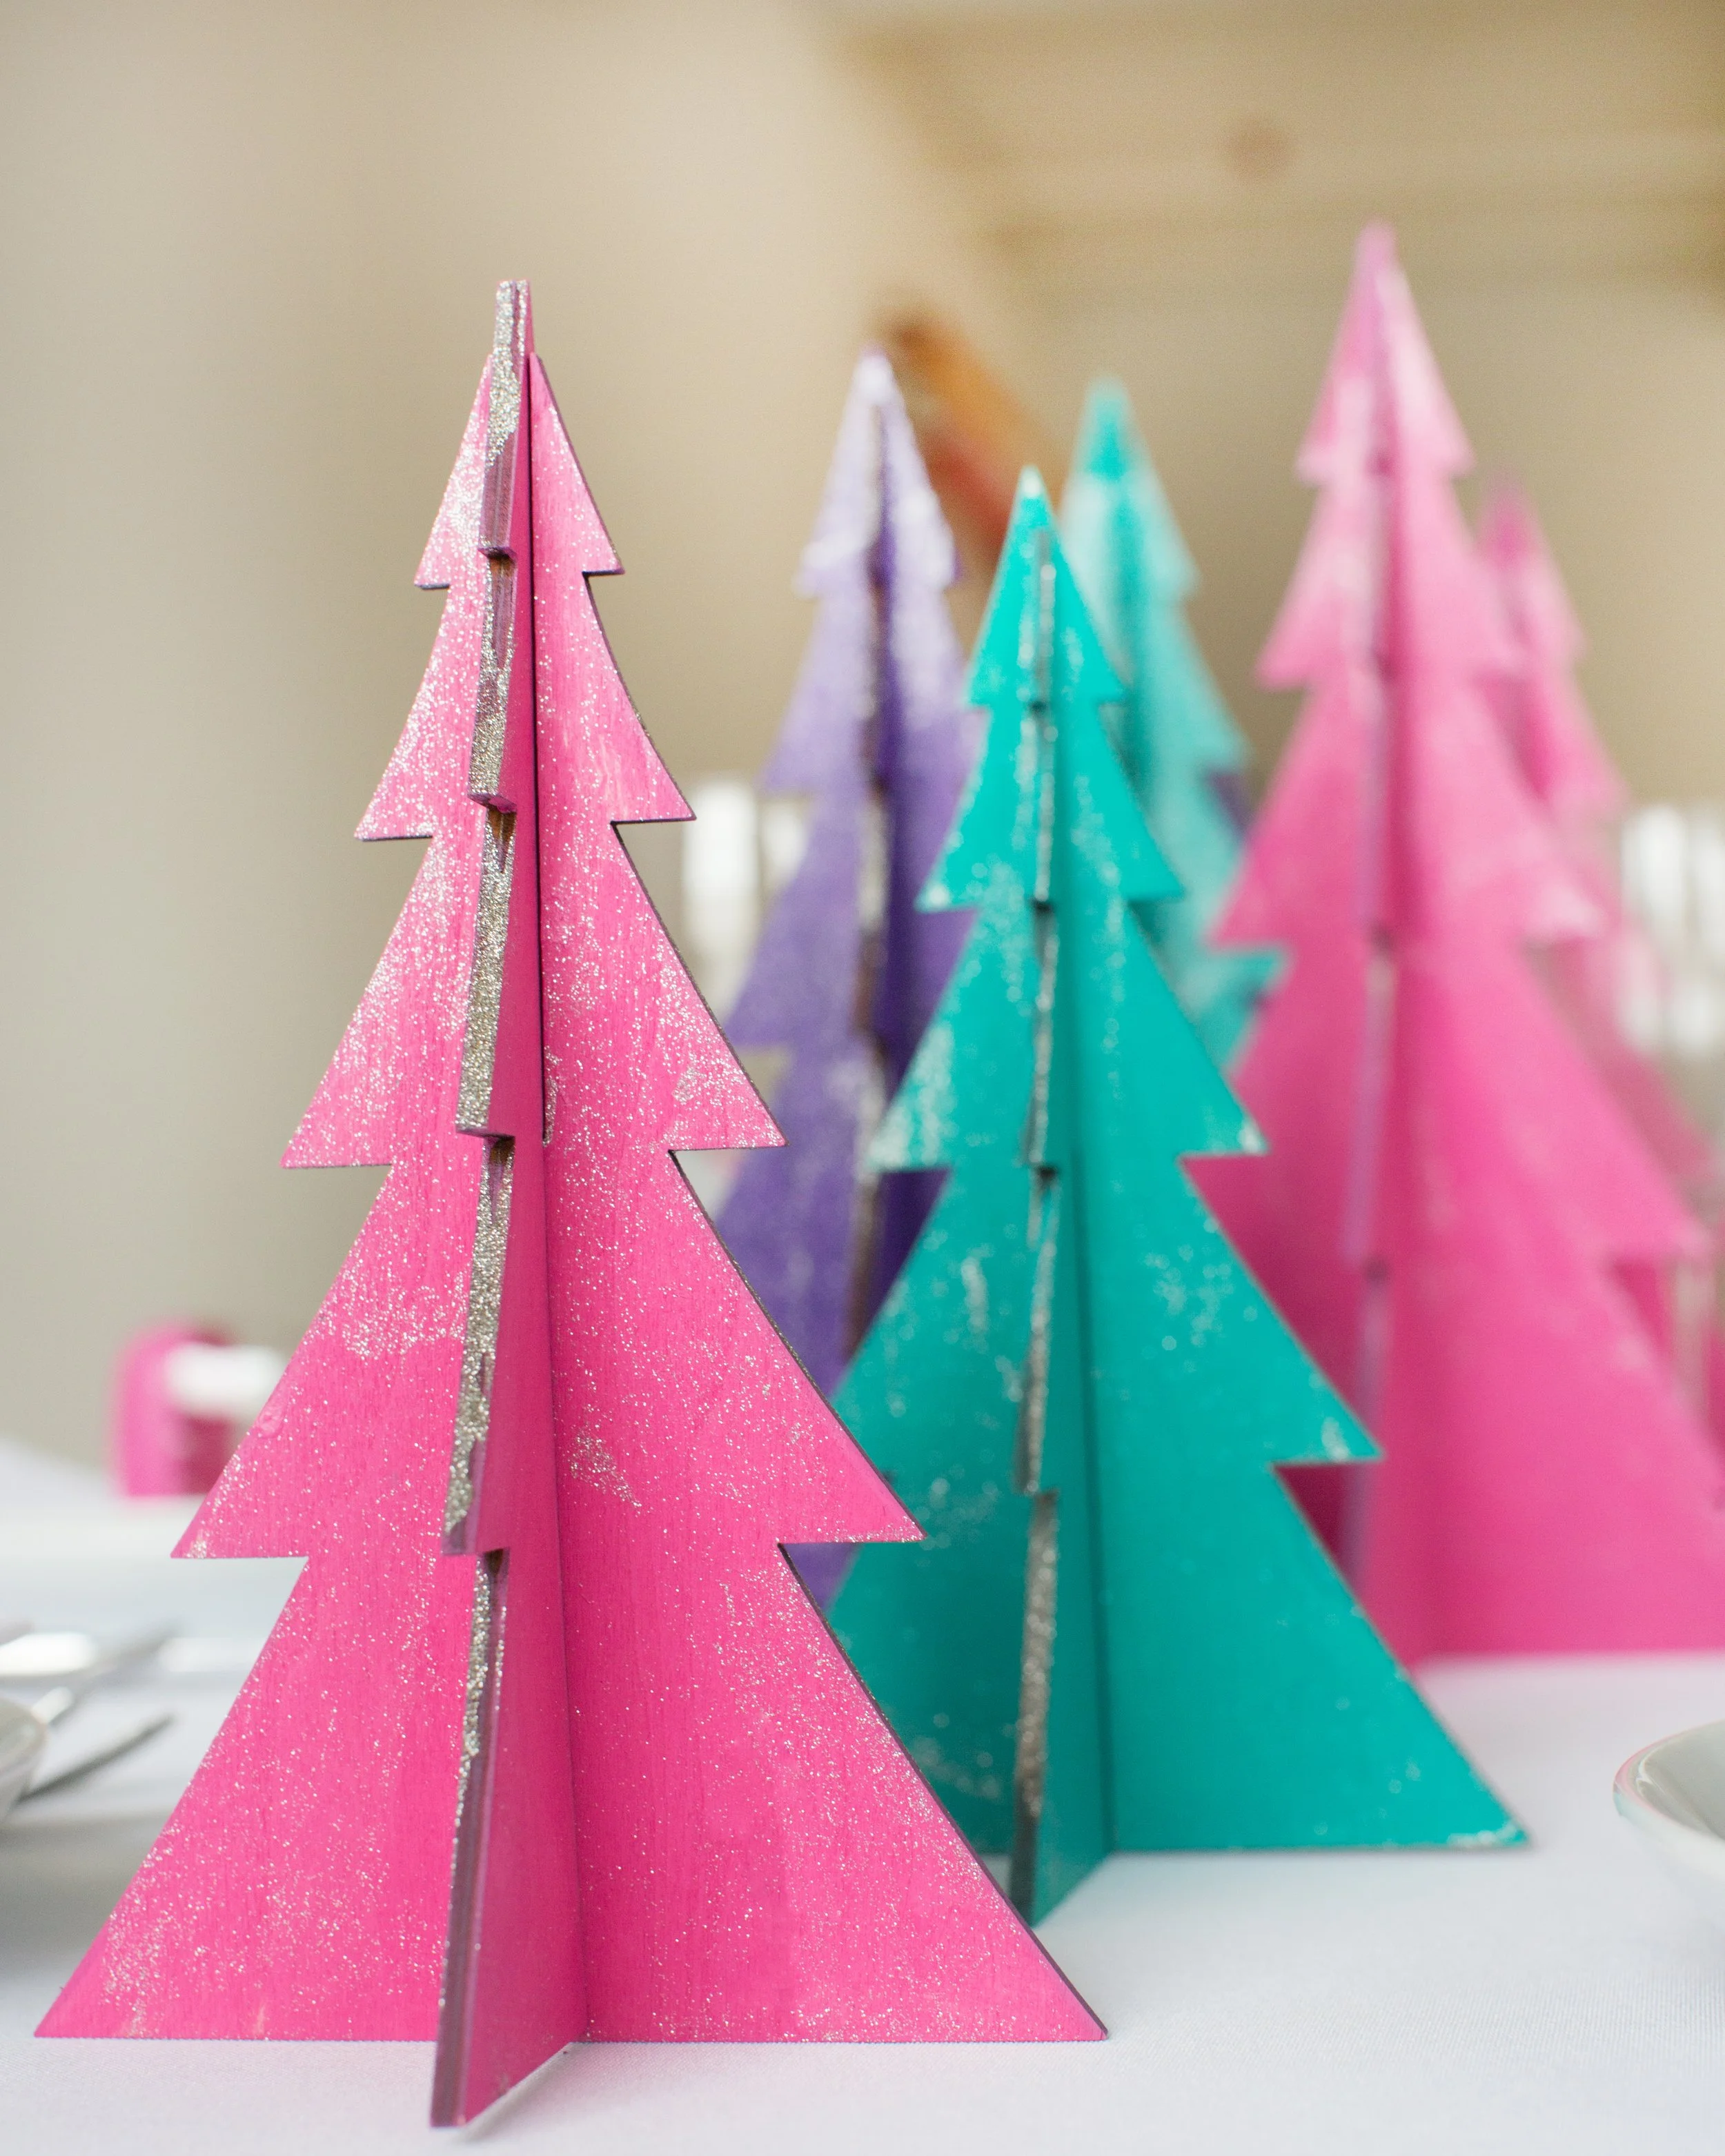
DIY wooden Christmas tree centerpiece painted in fuchsia, teal, and purple with glitter finish
DIY Painted Ornament Place Card Holders
Personalized place cards add a thoughtful touch to any tablescape—and this year, ours doubled as take-home favors for guests! These painted glass ornament place card holders are easy to make but look absolutely stunning.
Supplies Needed
Clear glass ornaments
Testors Craft acrylic paints
Foam paint brushes
Masking or painter’s tape
Testors Intense Glitter
Ribbon
Printed name cards
Directions
Wrap painter’s tape around your ornament to mark the section you’ll paint (we chose the bottom third).
Using a foam brush, paint the section with your acrylic paint. Let it dry completely before adding a second coat.
Once dry, apply Intense Glitter over the painted section for a sparkling finish.
Tie a ribbon through the ornament’s top and attach your printed name card.
Match the ribbon color to your tablescape palette—think teal satin, fuchsia velvet, or silver silk for a luxe touch.
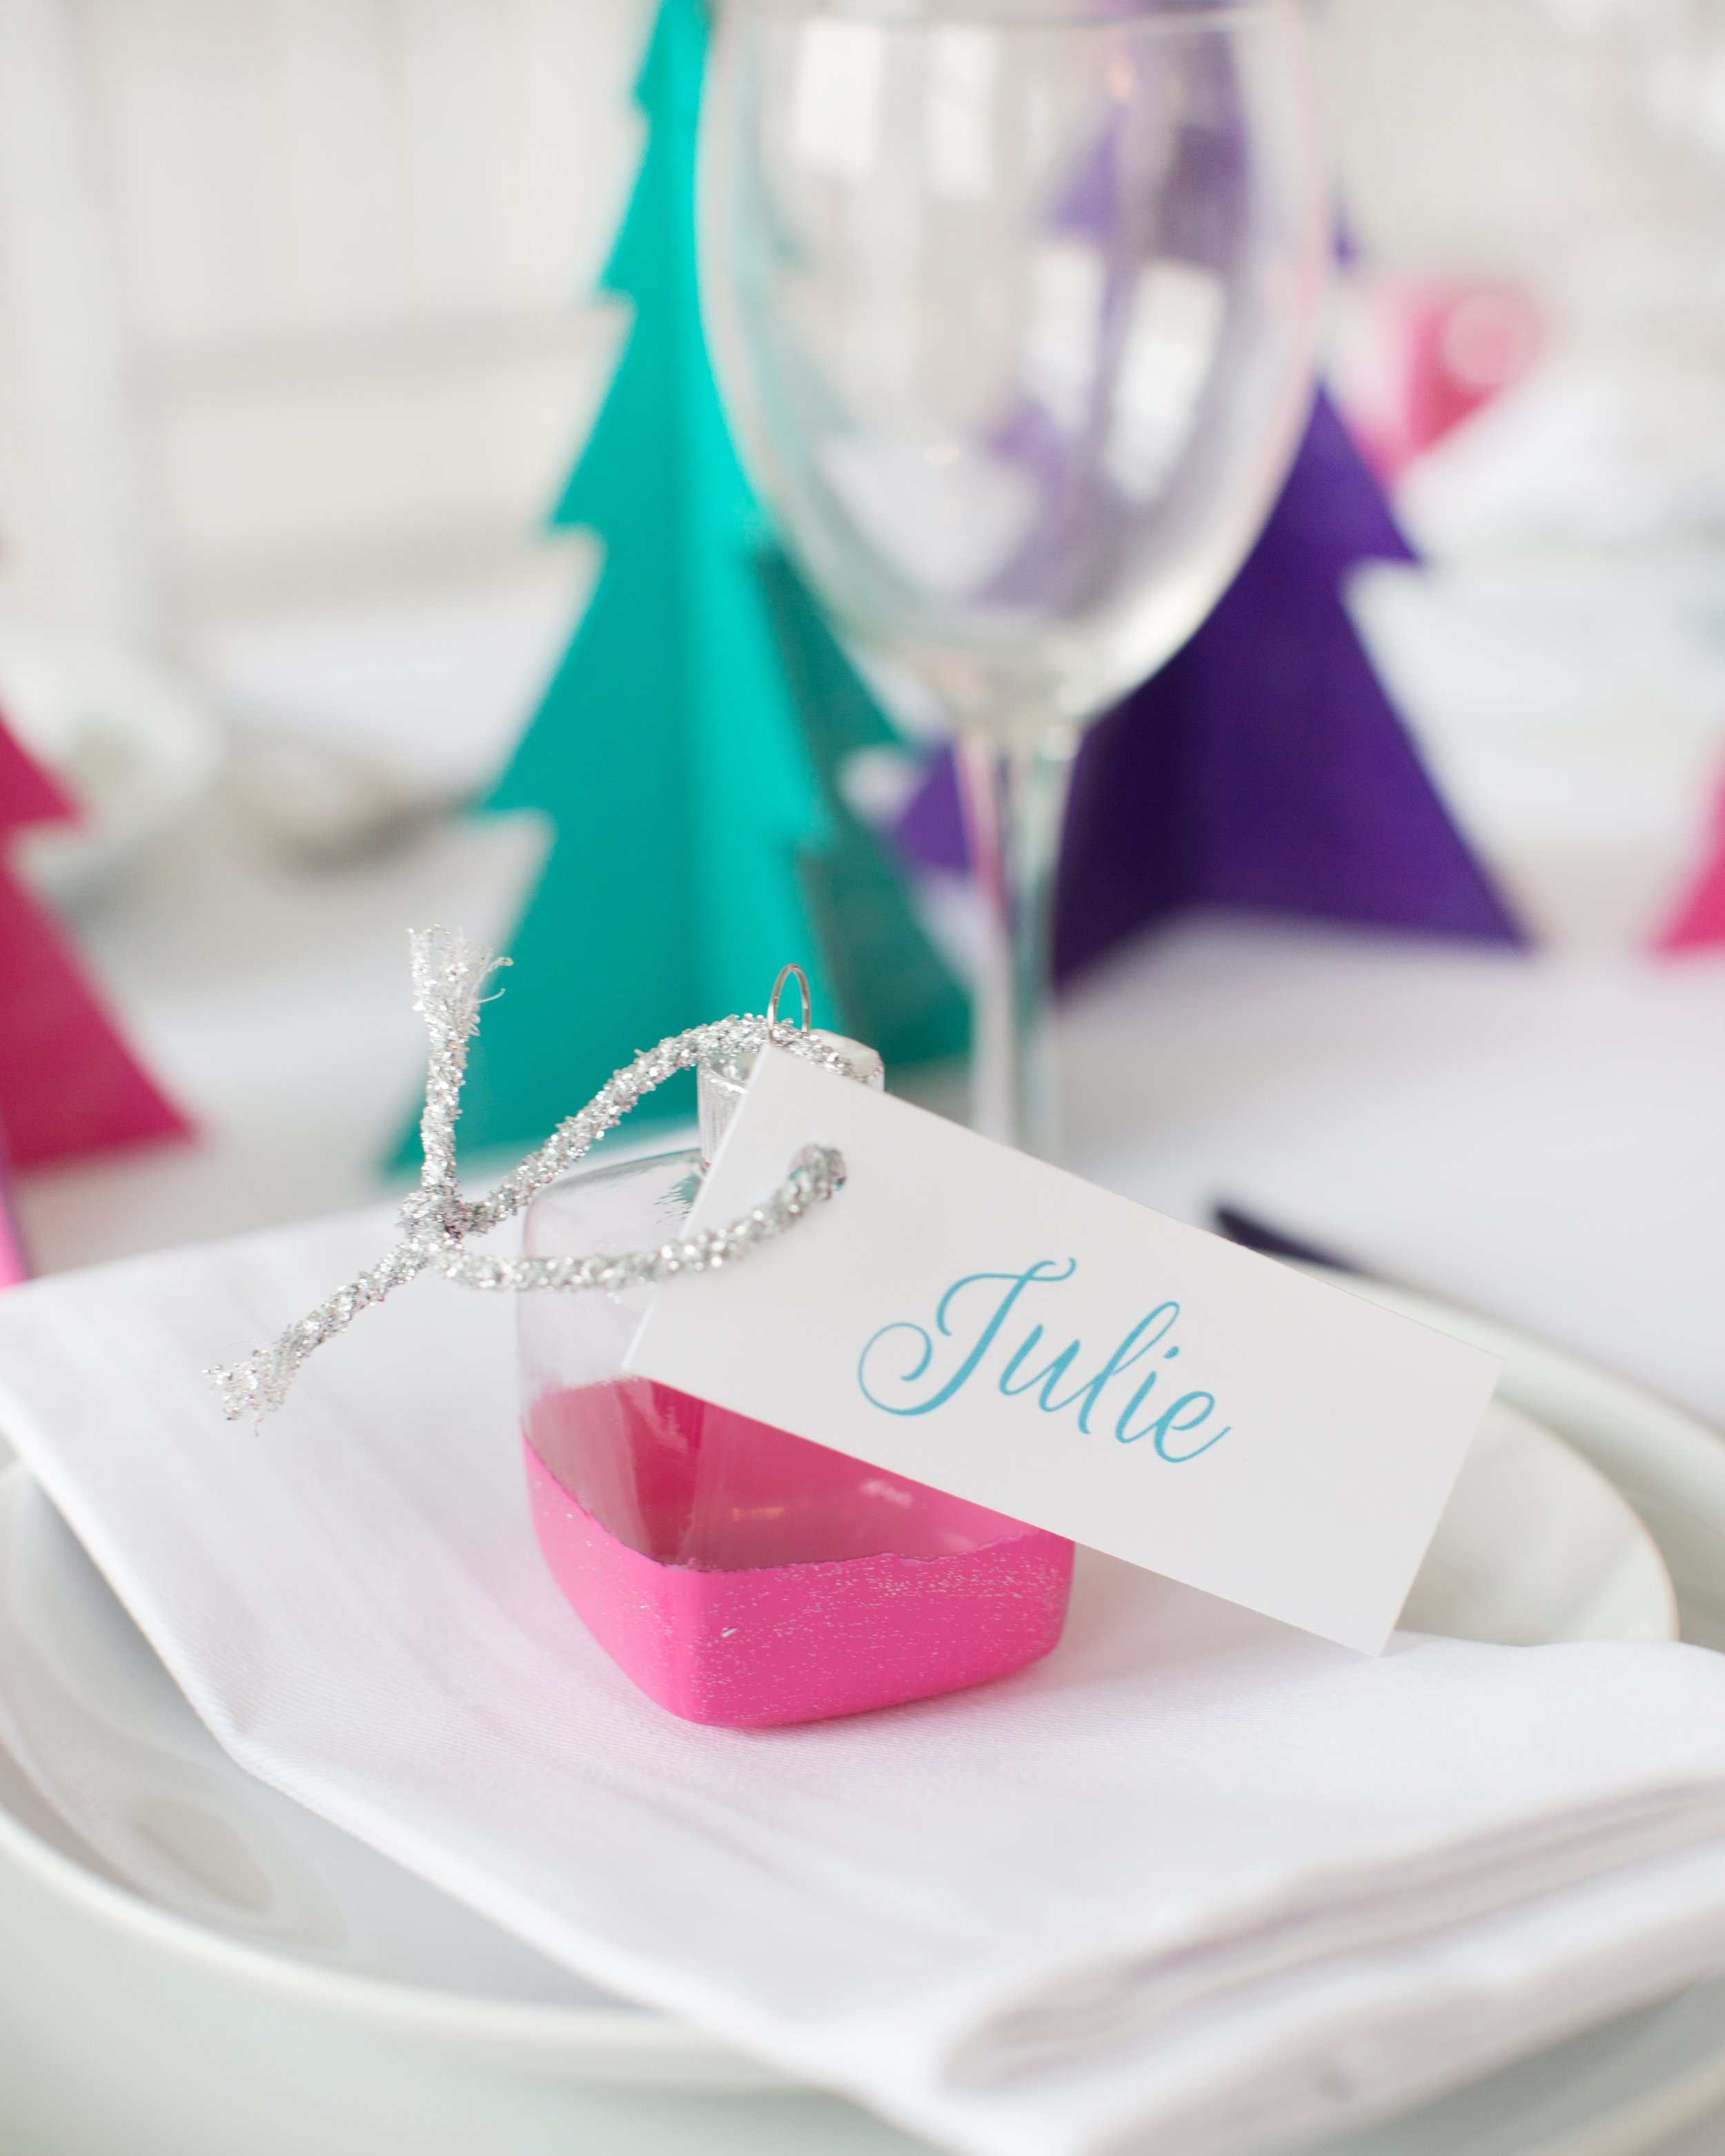
Painted glass ornament place cards in teal, fuchsia, and purple with glitter accents
DIY Merry and Bright Paper Garland
This DIY paper garland is an easy and inexpensive way to carry your colorful theme beyond the table. Drape it across a mantel, wall, or even down the center of your table for a whimsical holiday look.
Supplies Needed
3–4 colors of cardstock (we used fuchsia, teal, and dark purple)
Paper cutter or scissors
Stapler
Directions
Cut cardstock into 2–3 inch strips.
Take one strip, loop the ends together, and staple to form a circle.
Insert the next strip through the first ring, forming a chain. Staple closed.
Continue linking strips until you reach your desired garland length.
For visual interest, alternate colors irregularly—try a pattern like 2 pink, 2 teal, 1 purple.

DIY Christmas paper garland in colorful pink, teal, and purple tones for modern holiday décor
Bringing It All Together
With these three easy DIYs, you can create a modern, merry, and bright Christmas tablescape that’s full of personality and festive color. The combination of hand-painted decorations, shimmery textures, and bold hues gives your holiday table a fresh, stylish twist.
You can find Testors Craft Acrylic Paints and Intense Glitter at major craft stores like Joann, Michael’s, and A.C. Moore, or order online via Amazon for easy shopping.

Modern Christmas tablescape with teal, fuchsia, and purple DIY decorations and painted centerpiece